Why Print Quality Matters for QR Codes
QR codes are made up of black and white squares that a scanner reads using a camera. The camera takes a picture, and the software finds special markers to get the information from the pattern. To work well, the code needs to be clear, well-lit, and neat. If it’s blurry, shiny, or smudged, the scanner might read it wrong or not see it at all. Even small mistakes, like stretching the image or using poor color contrast, can make it unreadable. Understanding these basics helps you design and print codes that function reliably across all devices and environments.
9 Key Tips for Printing a Scannable QR Code
Printing a QR code might look simple, but small things can affect how well it works. To make sure your QR codes scan quickly and without problems on any device, here are 9 important tips you should follow.
Choose the right format (vector vs. raster)
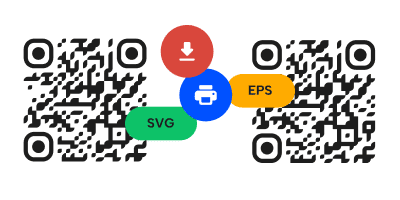
Always download your QR code in a vector format (such as SVG or EPS) for print. Vector files maintain crisp lines regardless of scaling, which is essential for preserving the clarity of QR elements. This helps make sure that you avoid making your QR code too small to scan, and every square remains perfectly defined and scannable on a business card or other materials.
Raster formats (like PNG or JPG) can pixelate when enlarged, affecting scanability.
For professional printing, always confirm the printer’s preferred file format and guarantee color profiles (such as CMYK) are correctly set to maintain consistent contrast and readability. If raster formats are unavoidable, export at 300 DPI or higher to reduce pixelation.
Our QR code generator allows you to export in high-resolution vector formats ideal for print use.

Maintain adequate size for scanning
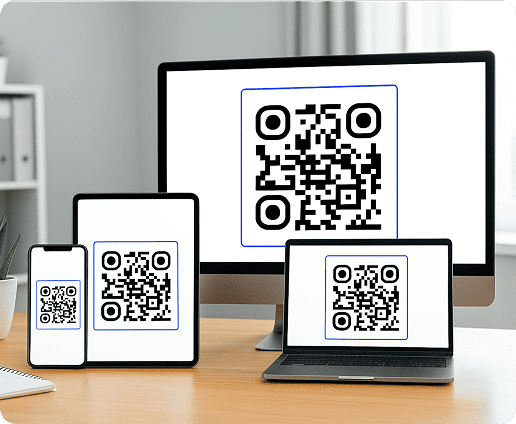
The minimum recommended size for printed QR codes is 2 x 2 cm (about 0.8 inches), but larger is safer for good QR code print resolution, —especially for packaging or posters viewed from a distance. Always consider your code's use case: a flyer at eye level can use a smaller code than one on a billboard.
A good rule of thumb is to make your QR code’s size 1 cm for every meter of viewing distance (for example, a code on a poster viewed from 5 meters away should be at least 5 cm wide).
Use high contrast between code and background
Scanners rely on contrast to detect a QR code’s unique pattern.
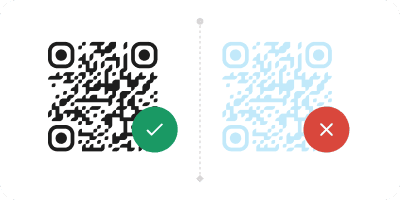
For best results, use a dark foreground (e.g., black) on a light background (e.g., white). Avoid using color combinations with low contrast, like pastels or similar shades.
Avoid using low-contrast combinations, like light blue on white or pastel colors, as they can make scanning unreliable, especially in outdoor or dim environments. According to professional print testing, insufficient contrast can reduce readability by more than 40%, even when the code is printed at the correct size.
Keep the shape right when resizing
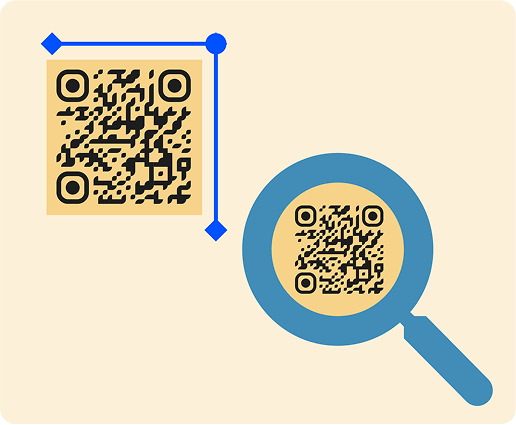
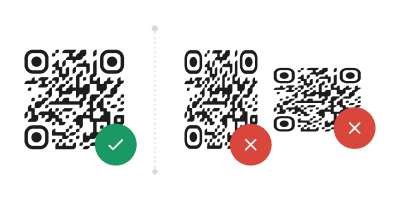
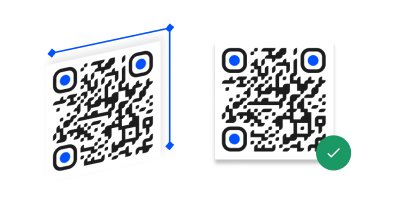
When you change the size of your code, make sure it stays perfectly square. If you stretch or squeeze it, even a little, it can mess up the parts that help scanners read it. Always resize it evenly and check that it still looks right afterward.
It’s also good practice to check the code visually after resizing to make sure that all borders are sharp.
Leave quiet zones around the code
A quiet zone is the blank space surrounding a QR code. It allows scanners to distinguish the code from its surroundings.
The recommended quiet zone is at least 4 modules (square blocks) wide on all sides.
To maintain a proper quiet zone, you should:
- Avoid placing logos or text too close to the edges of the QR code.
- Keep the quiet zone the same color as the background, typically white, for clear separation.
- Check that the quiet zone remains intact and proportional if you scale or crop your design.
- Test any border trimming or background color changes, as they can unintentionally reduce the quiet zone and affect readability.
Our QR generator includes a default quiet zone to prevent errors in interpretation.
Print a test copy first
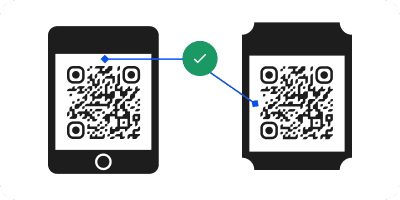
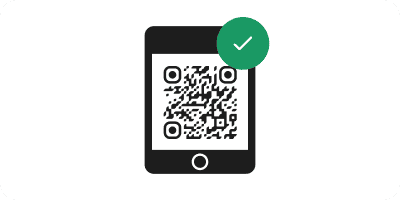
Before printing a large number of codes, always try one out first.
Scan it using different phones and in different lighting. This helps you spot problems like smudges, glare, or poor contrast that you might not notice on a screen.
A quick test print can reveal QR code printing mistakes, such as:
- Blurry edges: QR codes that are blurry after printing are usually caused by ink absorption on porous paper or low-resolution prints.
- Poor contrast: Light colors or glossy finishes can make the code difficult to scan under certain angles.
- Scaling errors: Codes that appear stretched may not be scanned properly.
- Environmental impact: Test the printed code in different conditions, such as, bright sunlight or in low light.
Use durable inks and coatings
When printing QR codes on materials exposed to wear and tear, you should use high-quality, durable inks and protective coatings. This prevents fading, smudging, or damage that can make the code unreadable.
Weather resistance: For outdoor use, opt for UV-resistant inks and laminates to protect against sunlight and rain.
- Physical wear: Use scratch-resistant coatings on surfaces that are frequently handled, such as packaging or labels.
- Longevity: Ensure the printed QR codes remain readable over time, even under harsh conditions.
- Testing the strength of your QR codes in real-world environments guarantees they remain functional and reliable for extended periods.


Keep Logos and Designs Simple
Adding your logo or brand colors to a QR code can look nice, but don’t go overboard. Make sure the logo doesn’t block the important parts of the code. It’s best to leave some clear space around it. When applying logos or colors into your code, remember to:
- Keep the logo small and centered so it doesn’t overlap critical data areas like the corner alignment squares.
- Leave a clear margin between the logo and the QR elements to preserve the quiet zone.
- Stick with simple color combinations that maintain strong contrast.
- Avoid complicated patterns as they can interfere with camera recognition.
For important uses like event tickets or payment points, keep the design simple so the code scans without problems.
Consider material and surface for placement
Print surface matters. Avoid glossy or reflective finishes that may cause glare and hinder scanning. Some best practices include:
- Avoid glossy or reflective designs that can create glare under artificial lighting or sunlight.
- Use rubbery or semi-gloss surfaces. They reduce reflections and improve contrast.
- Be careful with curved or flexible materials as surfaces like bottles or tubes can bend the QR grid, causing distortion.
Choose the right QR Code type for the job
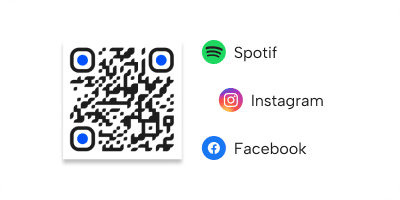
Use QR codes designed for your specific content type. For example, a social media QR code like a Facebook QR Code, Instagram, or LinkedIn works best for linking to business profiles, while an app store QR code is ideal for downloading mobile apps.
Think about the post-scan flow by considering what should happen the second someone scans. The right code type makes that step instant and reliable, improving both scan success and user satisfaction.
Selecting the right type improves user experience and scanning accuracy.
Where To Use Printed QR Codes Effectively
Printed QR codes are incredibly versatile for physical marketing. Here are a few different marketing materials that you can place your codes on:
Business cards
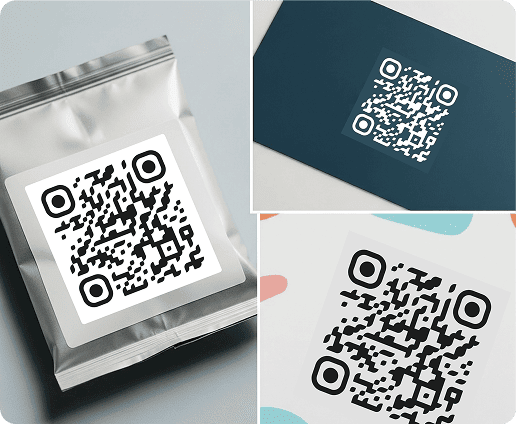
Point the code to a vCard, so contacts can save your details instantly. Keep the QR code on a clean area (often the back) with a clear quiet zone.
Invitations
QR codes on invitations allow you to link to RSVPs and easily manage any event. Place the code near the RSVP line, ensure strong contrast on textured stocks, and test at typical arm’s-length distance.
Packaging
Send scanners to a different number of useful how-to videos and guides to guarantee that your client knows exactly how to use their product. Choose a flat spot on the package to prevent glare and distortion.
Billboards
If you want to advertise your business on a billboard, you can reach a wide audience quickly. Remember to use billboards only when the audience is relatively close. Make sure to choose the right size for distance, keep messaging simple, and avoid reflective laminates.
Stickers & labels
Create scannable touchpoints by placing your codes on stickers and labels and include them on envelopes, retail shelves, and even in public spaces where clients can get information on your products or services. Remember to set them on smooth, flat surfaces.
Create your first QR code in minutes
Enjoy 7 days of full access to QRNow and create beautiful QR codes without limits or credit card details.
Create my QR Code
Conclusion
Printing QR codes is more than a design choice; it is a technical requirement that directly influences your business outcomes.
A crisp, well-placed, and properly formatted QR code reflects your brand's attention to detail and enhances customer engagement. From vector formatting to material choice, every decision matters.
Our QR code generator equips your team with the tools needed to create professional, print-ready codes that work every time. Follow these 10 tips and make every scan count.
FAQs
How does print material affect QR code readability?
Toggle faqs
Glossy or reflective stocks create glare that confuses cameras, while rubbery or semi-gloss reduces reflections. Go for smooth, flat areas and durable inks/laminates for outdoor use
Can colors affect whether a QR code scans?
Toggle faqs
Yes. Scanners rely on contrast, so try printing on a dark foreground on a light background. Also, avoid pastels, similar tones, gradients, or busy backgrounds.
Aim for a strong contrast ratio and keep the quiet zone the same color as the background to help cameras detect the code boundary.
Why do QR codes blur or lose sharpness after printing?
Toggle faqs
Blur on QR codes usually comes from low-resolution raster files. PNG/JPGs can pixelate when enlarged, while halftone printing can soften edges on absorbent paper. Make certain that the quiet zone and module edges remain crisp after any resizing or trapping.
Can someone replace or fake my printed QR code?
Toggle faqs
It is possible to physically cover or swap a code. You can lower the risk of this happening by using tamper-evident labels. Take advantage of branded frames and HTTPS to make fakes easier to spot.
Also, create a dynamic code that lets you enable fast destination changes if a print piece is compromised.
Use our QR code generator to create a branded dynamic code in minutes
Are dynamic QR codes more secure than static ones when printed?
Toggle faqs
Dynamic codes are “more secure” in practice, however, the printed pattern itself isn’t encrypted.
If a print is tampered with, you can redirect or disable the link, thanks to the fact dynamic codes can be edited at any time. Static codes go straight to a fixed URL, offering no control once printed.
How can I test my printed QR codes before mass printing?
Toggle faqs
Print a physical proof on the exact material and finish. You can then scan with different devices such as iPhones or Androids, and from different distances/angles under a number of environmental conditions.
What error correction level should I choose for printed QR codes?
Toggle faqs
You can select the error correction level based on environment. M is a safe default for clean, controlled prints. Q suits packaging or surfaces that may scuff or curve. H is best for harsh or outdoor conditions. Higher levels increase module density, so you may need to print larger to maintain readability.
Do printed QR codes expire or lose quality over time?
Toggle faqs
Printed codes themselves do not expire, although they can fade or be damaged. However, the destination link can change or go offline.
For more flexibility, use dynamic QR codes so you can update destinations without reprinting if any of your pages or campaigns change.

